
 K4C
K4C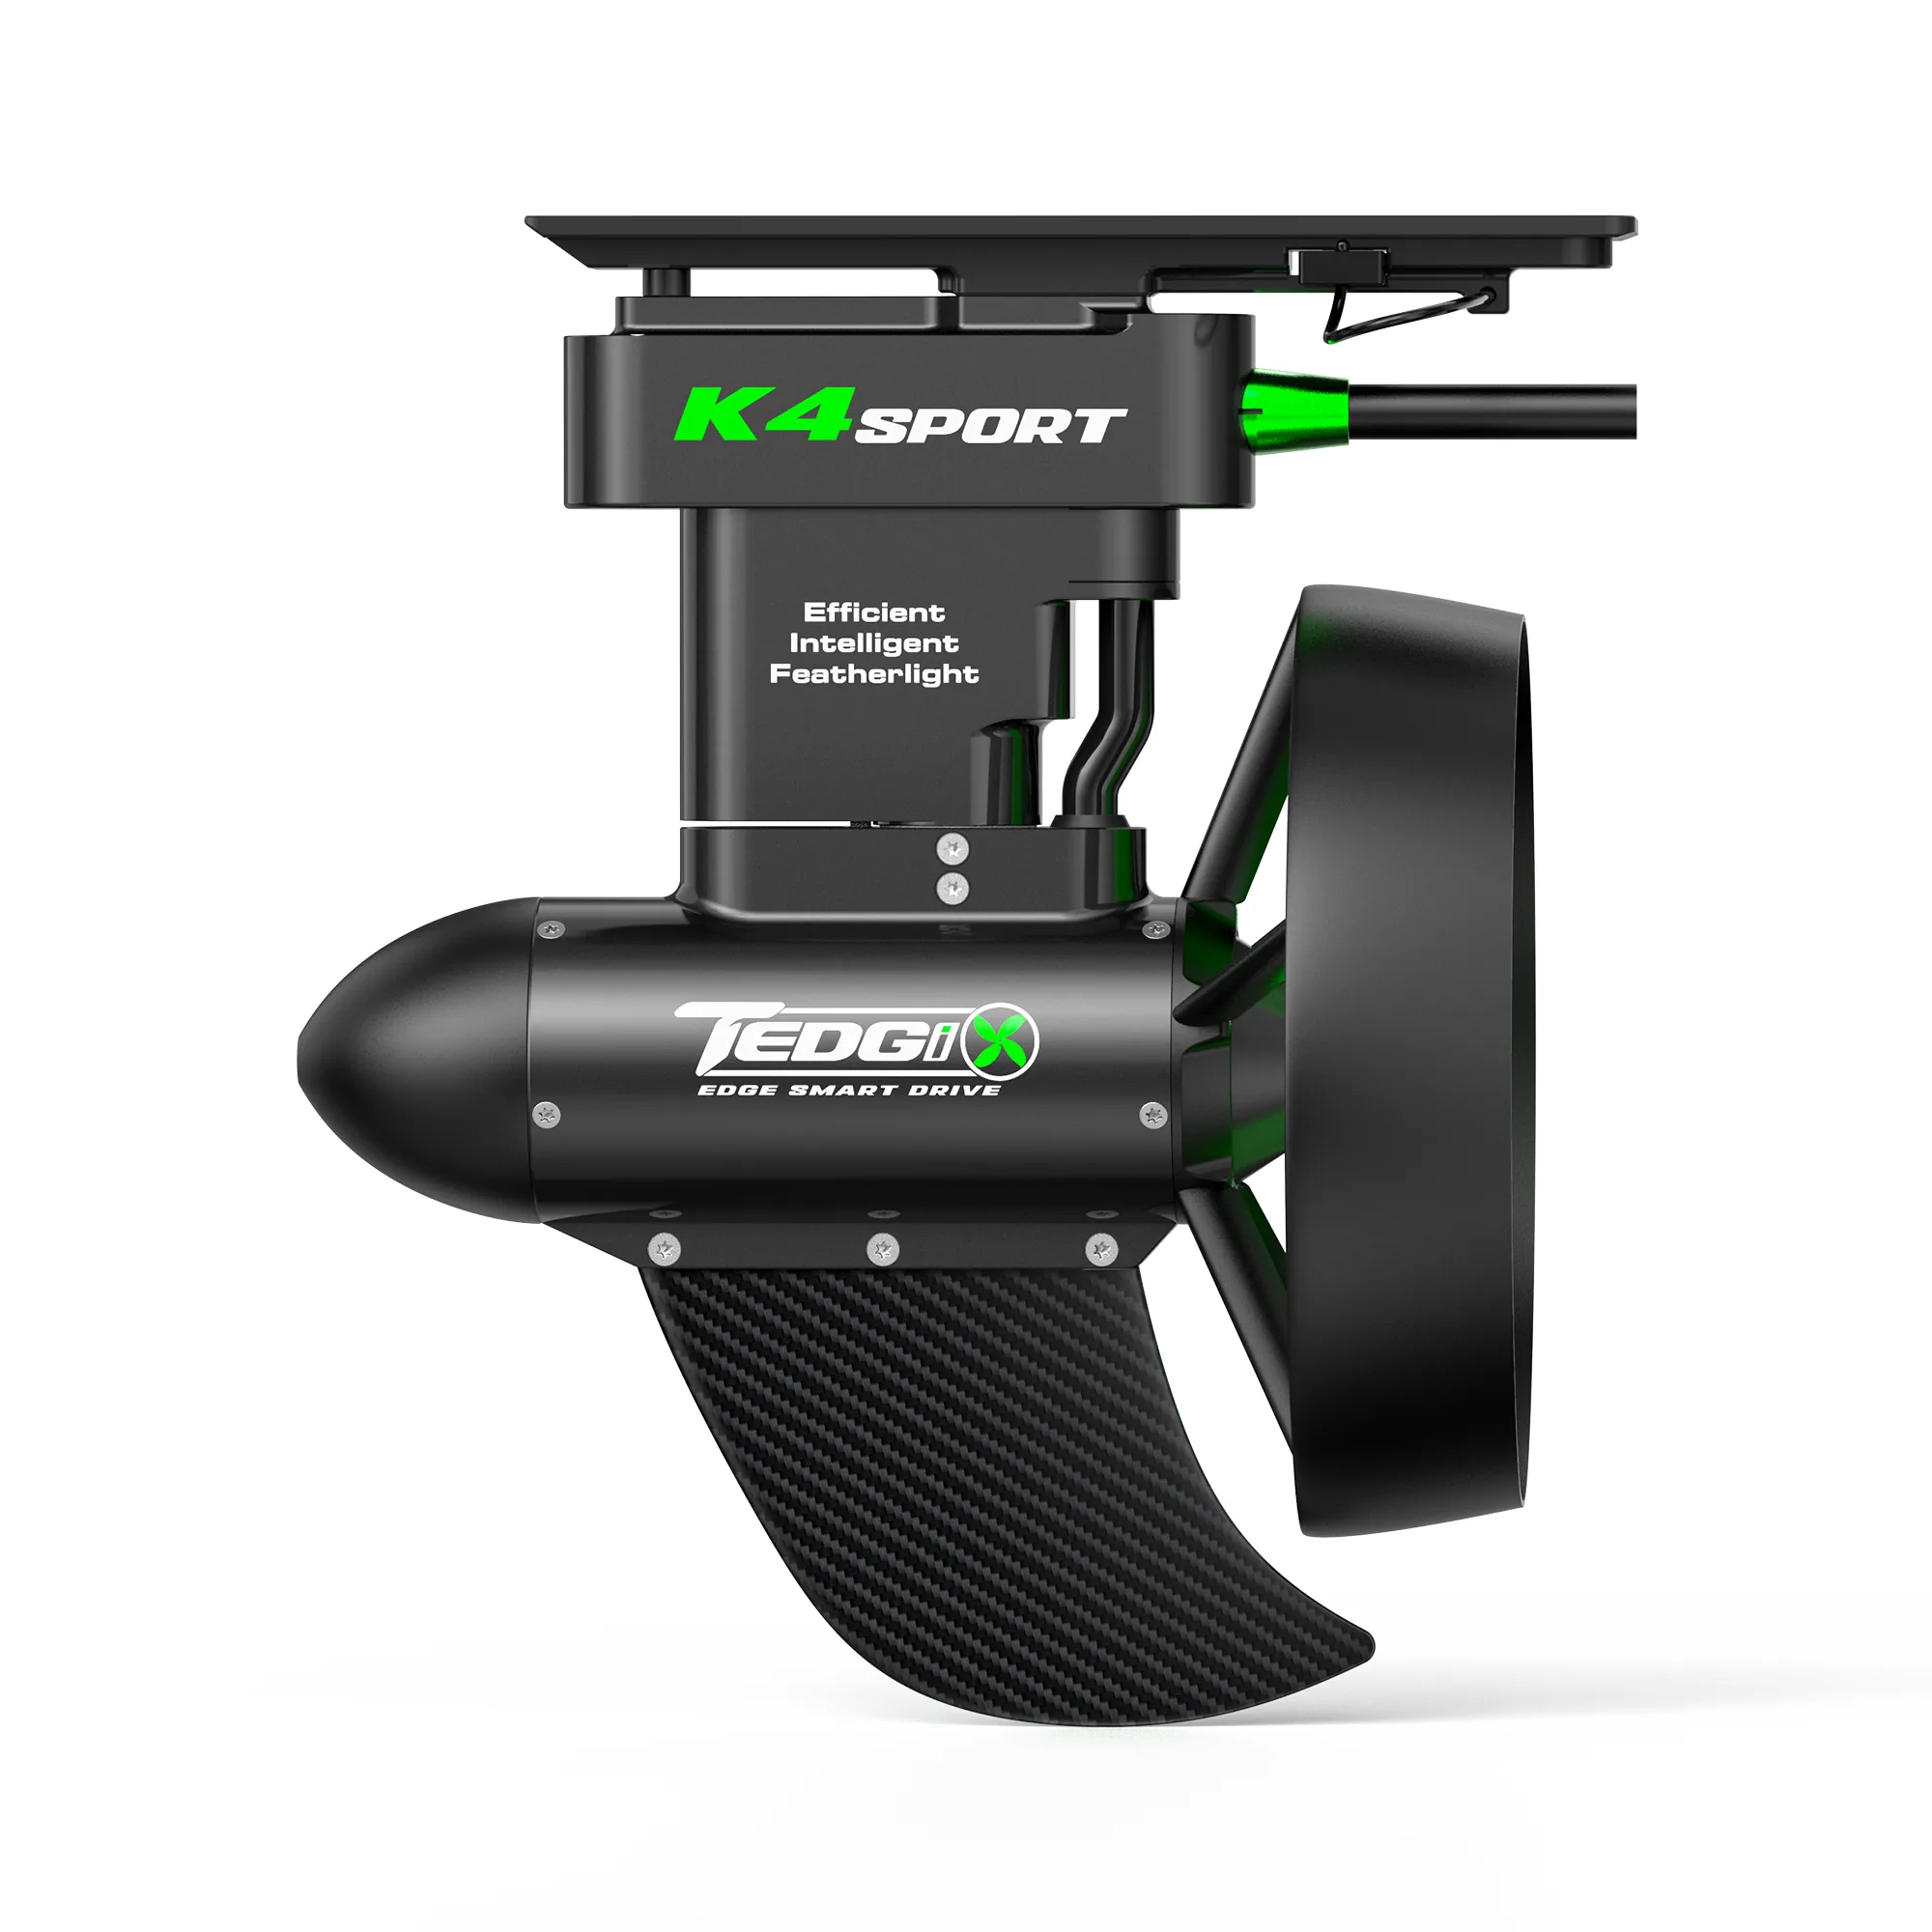 K4S
K4S K5
K5How to Wire a 24V Trolling Motor: Complete Guide for Kayak & Boat Anglers
Setting up a 24V trolling motor can seem daunting, but with the right guidance, it becomes a straightforward task. Whether you're a kayak enthusiast or a boat angler, understanding how to wire your trolling motor correctly is crucial for a smooth and efficient fishing experience. This guide will walk you through the essentials, from battery setup to wiring diagrams.
A trolling motor is an essential tool for anglers, providing quiet and precise movement through the water. A 24V trolling motor is powered by two 12V batteries connected in series to create a 24V system. This setup provides more power and efficiency compared to a 12V system, making it ideal for larger kayaks and boats.
How to Wire a 24V Trolling Motor: Series Circuit Explained
Wiring Two 12V Batteries in Series
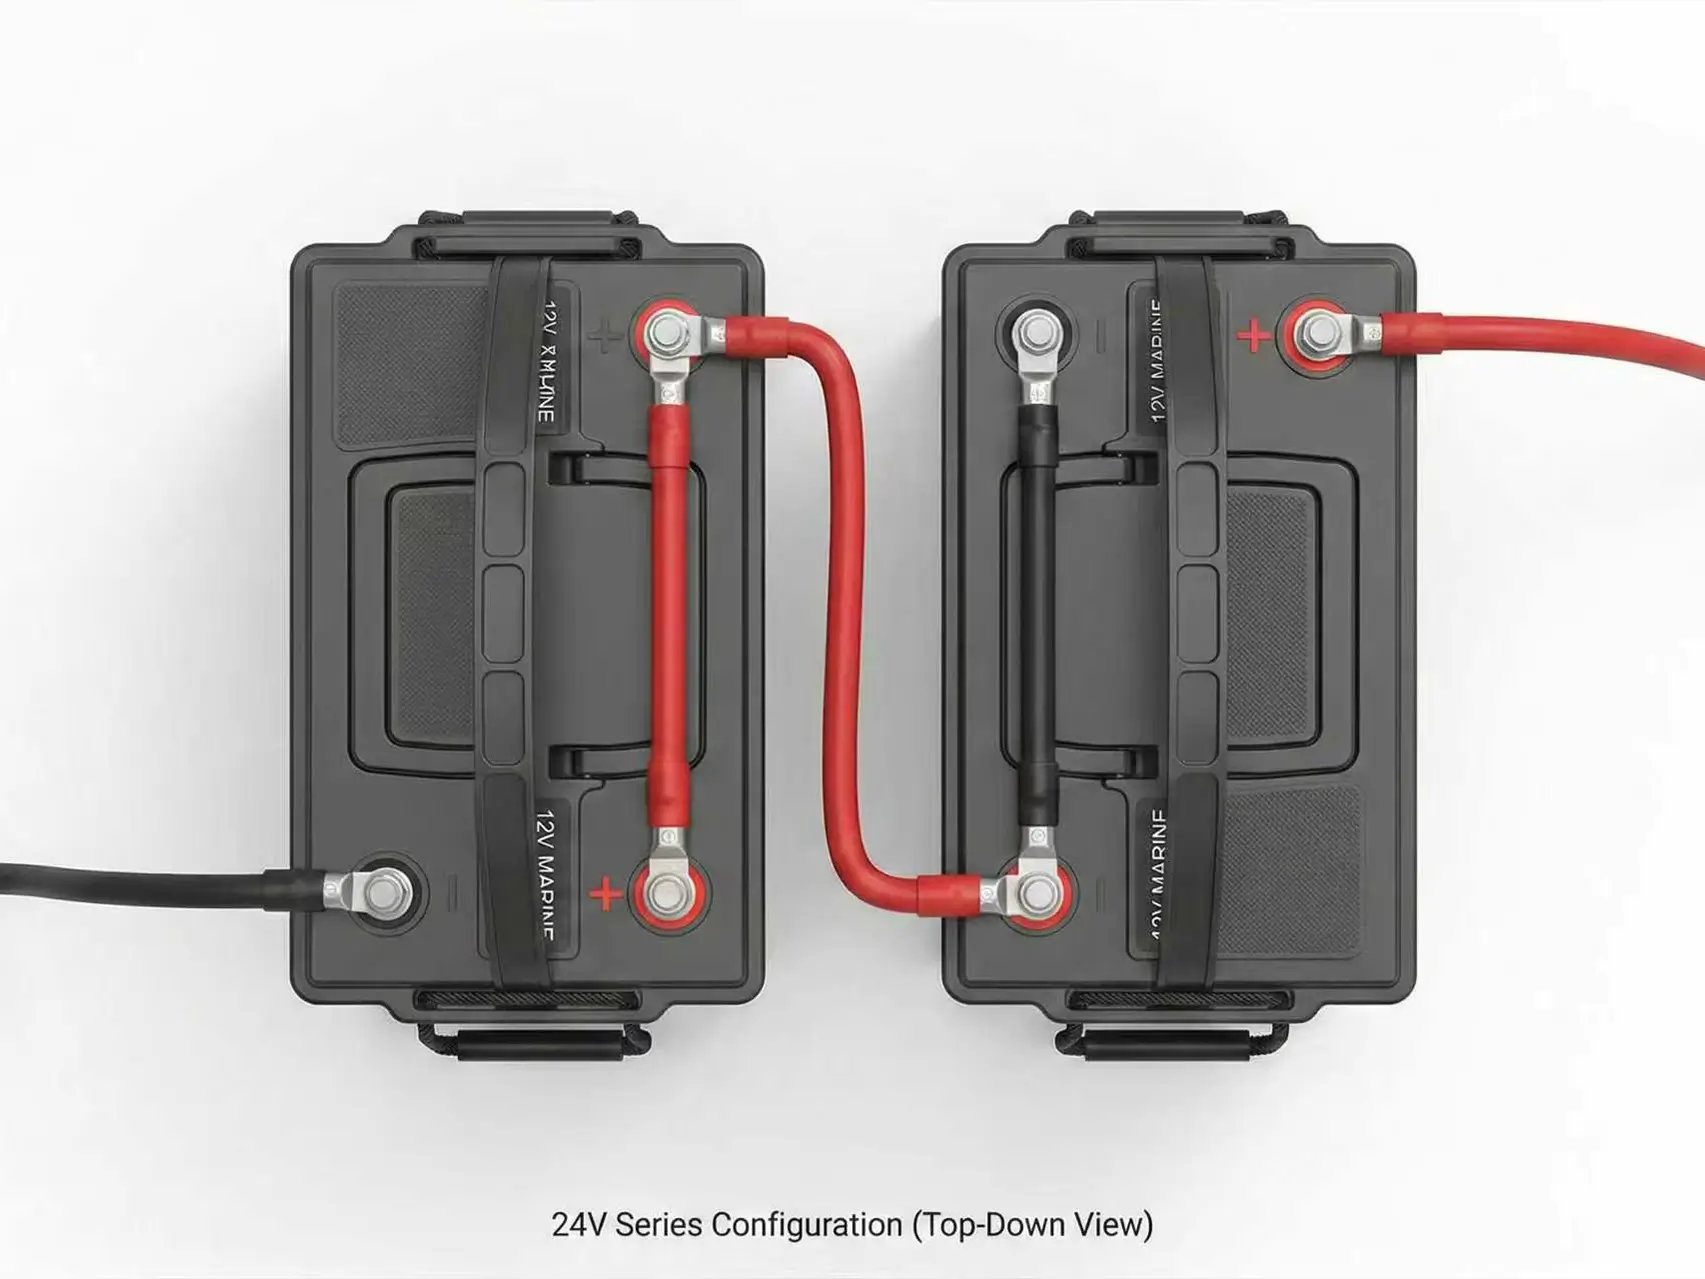
To achieve a 24V setup, you need to wire the two 12V batteries in series. Here’s how:
-
Connect the positive terminal of the first battery to the negative terminal of the second battery using a battery connector cable.
-
The remaining free terminals – the negative of the first battery and the positive of the second battery – will be your output terminals for the 24V system.
Ensure that the connections are tight and secure to prevent any power loss or disconnection during use. Double-check the polarity to avoid potential damage to the motor.
ALT="24v trolling motor series wiring diagram for kayak"
The Upgrade: Using a Single 24V Lithium Trolling Motor Battery
If you want to streamline the setup, using a single 24V lithium battery is an alternative. Lithium batteries are lighter and offer more efficient power output, making them a great choice for kayakers seeking compact setups.
Essential Wiring Components for Safety
Choosing the Correct Trolling Motor Wire Size (AWG)
Choosing the right wire size is critical for the safety and efficiency of your trolling motor. Here’s a quick guide to wire gauge selection:
| Current (Amps) | Distance (Feet) | Recommended Wire Size (AWG) |
|---|---|---|
| 50A | Up to 10 feet | 6 AWG |
| 40A | Up to 15 feet | 8 AWG |
| 30A | Up to 20 feet | 10 AWG |
Using the wrong trolling motor wire size can lead to overheating and potential damage. Always refer to a trolling motor wire size calculator to ensure you’re using the proper gauge for your motor and setup.
Circuit Breakers and Plugs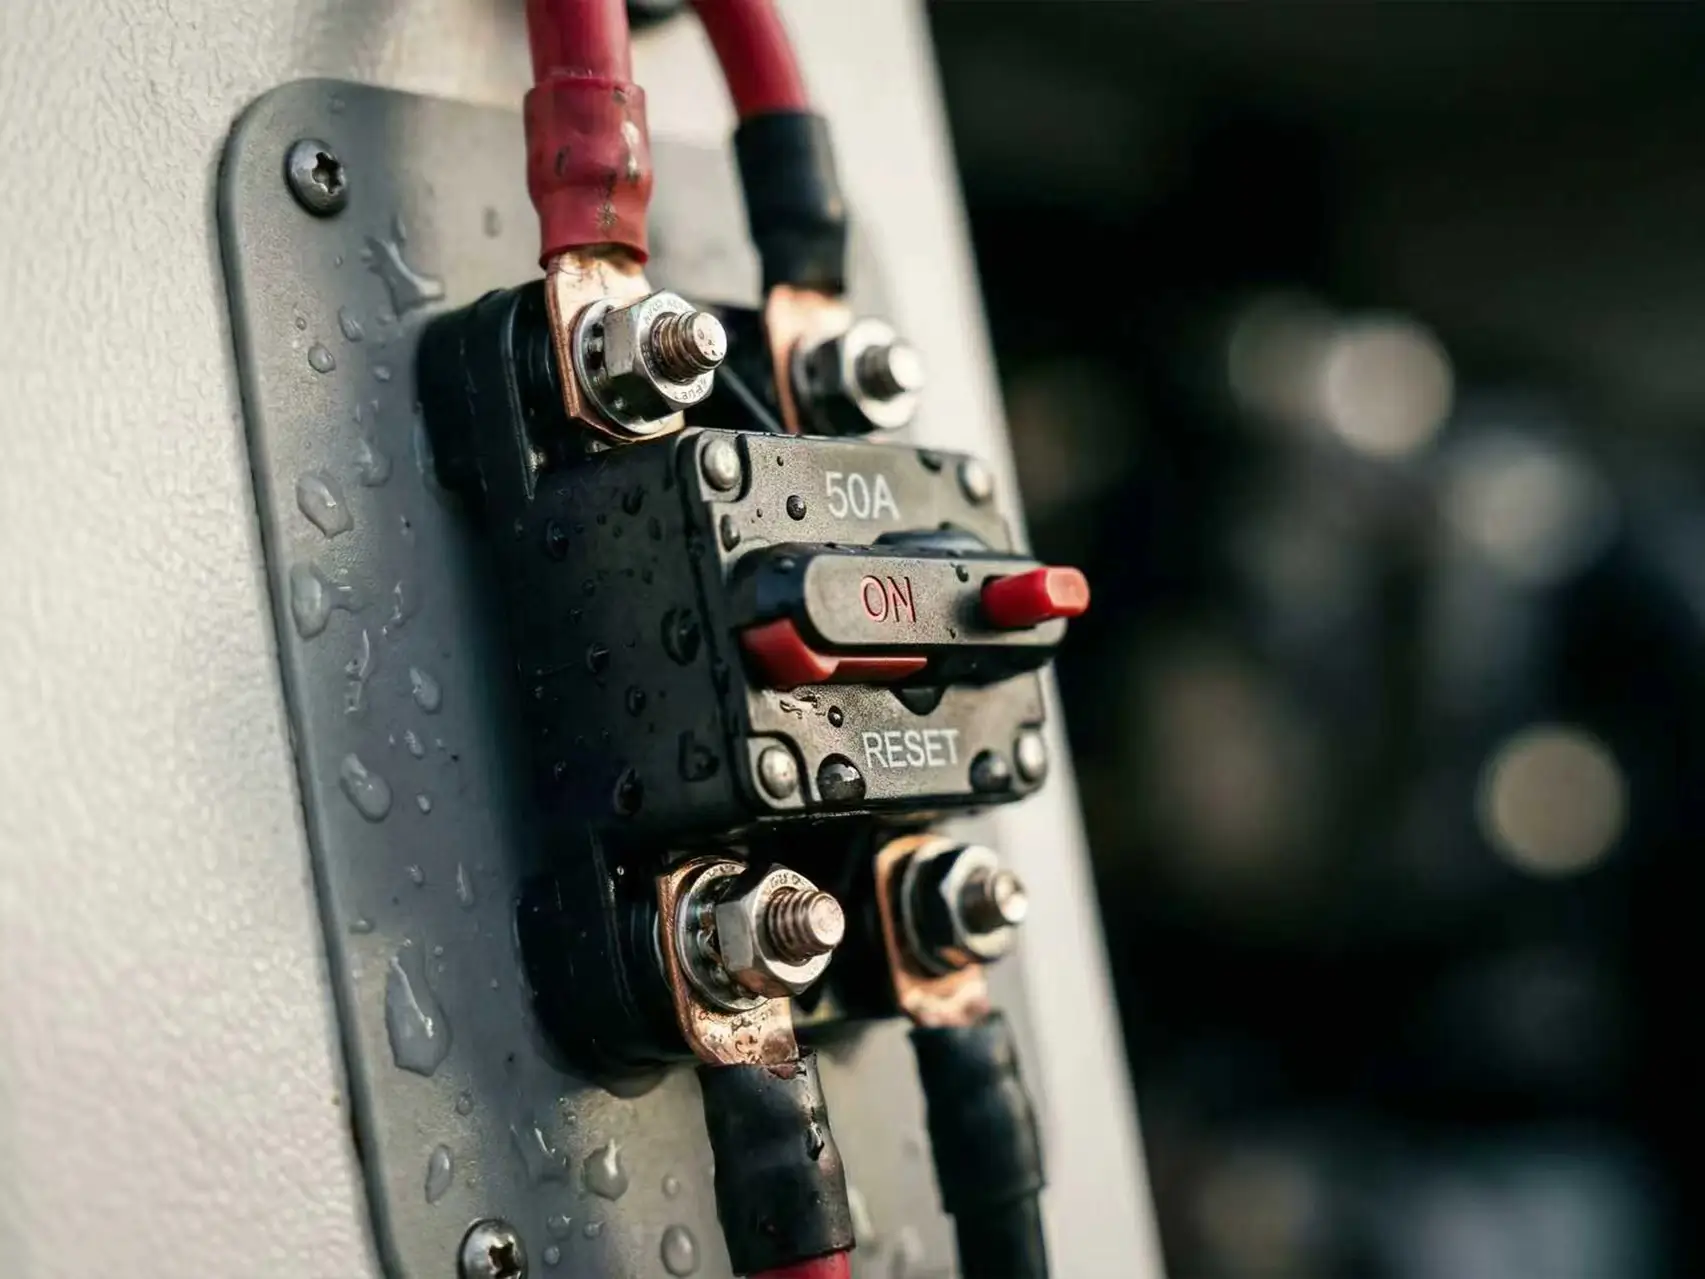
An inline circuit breaker is essential for protecting your trolling motor from electrical overloads. Install it on the positive line going to the motor. It will automatically cut off the power in case of a short circuit or overload, preventing potential damage. Choose a breaker with the correct amperage rating based on your motor’s specifications.
The Hidden Challenges of 24V DIY Wiring on Kayaks & SUPs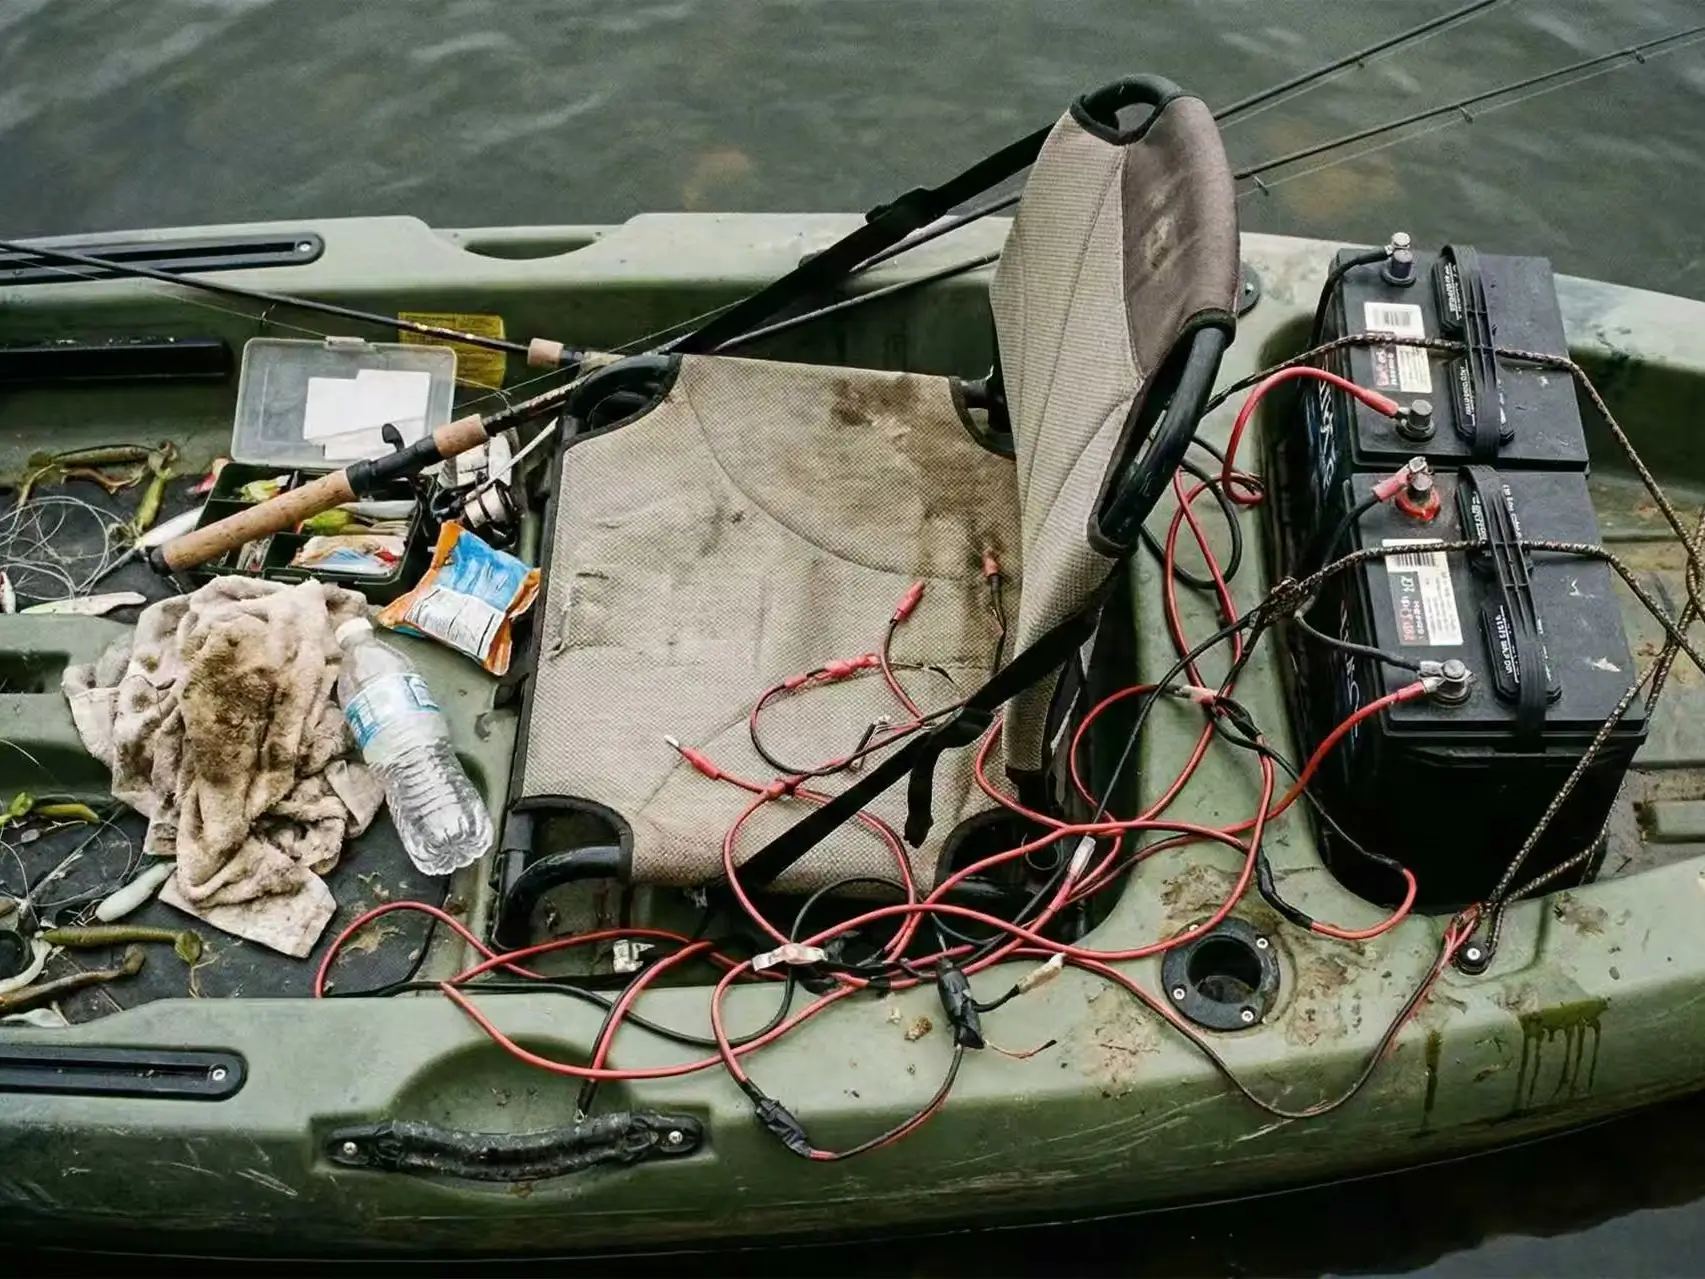
While wiring a 24V system on larger boats may be manageable, kayaks and SUPs present unique challenges. Here’s where traditional setups often fall short:
Weight Distribution & Deck Space Constraints
On a kayak or SUP, balancing two heavy 12V batteries can be a real problem. Traditional 24V setups, with their large lead-acid or lithium-ion batteries, often weigh 30+ lbs, significantly impacting your kayak’s weight distribution and tracking. This added weight makes it more challenging to maintain stability, especially in tight turns or when paddling long distances.
Waterproofing & Corrosion Risks
DIY wiring for trolling motors often involves exposed terminals, jumper wires, and bulky connectors. In saltwater environments, these components are prone to oxidation and voltage drop, which can cause sudden power loss in the middle of your fishing trip. Inconsistent connections can lead to frustrating motor stalls and compromise your motor's efficiency.
The Risk of Hull Drilling on Expensive Kayaks
Traditional trolling motors typically require drilling holes in the kayak hull to mount the motor. This compromises the kayak’s structural integrity, especially in high-value kayaks, and can also affect resale value. Additionally, drilling introduces potential leaks and makes maintenance more difficult.
The Modern Alternative: Plug-and-Play Propulsion Systems
While mastering 24V wiring is a rite of passage for traditional boaters, kayak and SUP anglers no longer need to accept the compromises of heavy batteries, exposed wires, and hull damage. The future of marine propulsion is integrated, lightweight, and drill-free.
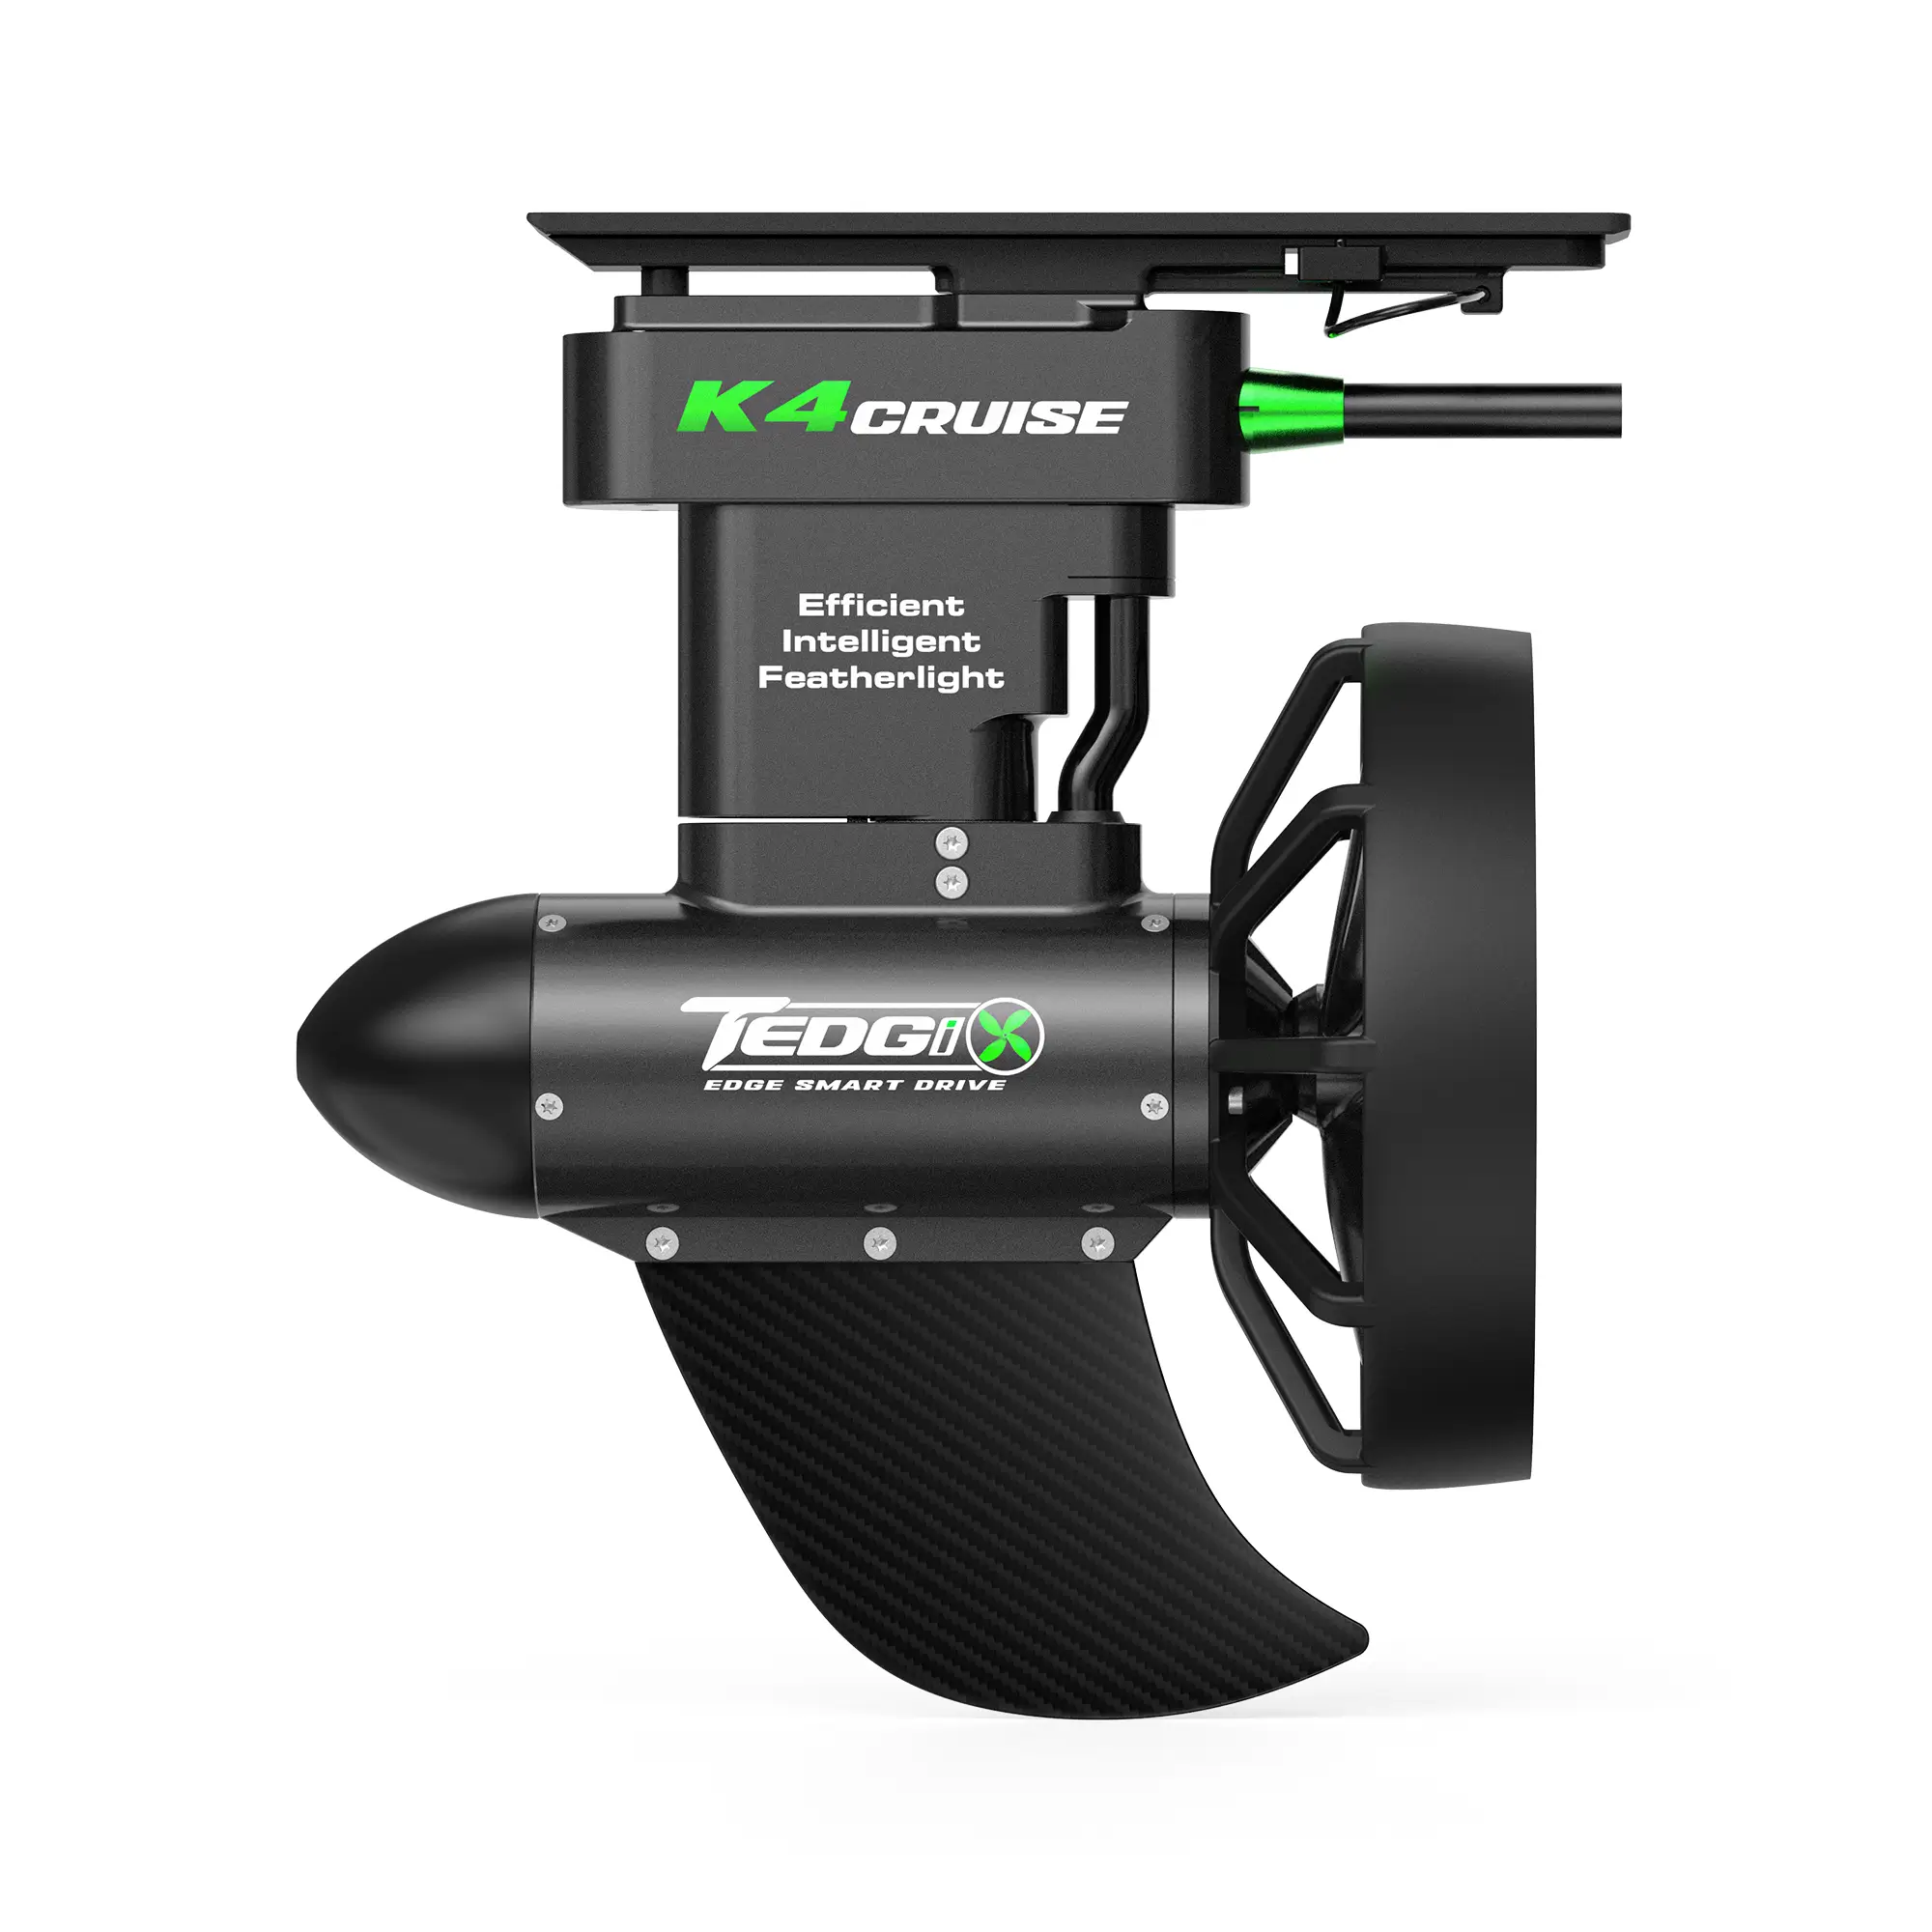
If you are dreading the thought of drilling holes in your kayak hull, crimping heavy-gauge wires, or struggling to balance two 12V batteries on a narrow deck, the Tedgix K4 Kayak Propulsion System offers a paradigm shift for those seeking a drill-free kayak motor.
Unlike traditional setups that require complex wiring diagrams and external circuit breakers, the Tedgix K4 is designed for the DTC (Direct-to-Consumer) era of water sports:
-
Zero-Wiring Setup: Features a fully integrated, marine-grade plug-and-play battery system. No series connections, no exposed terminals.
-
Slide-in Installation: Bypasses hull drilling entirely. The K4 slides directly into standard US Fin Boxes, transitioning from a fin to a motorized scooter (2-in-1 capability) in seconds.

-
Auto-Steering Integration: Traditional bow/transom mount motors require complex steering cable routing. The K4’s intelligent Auto-Steering manages trajectory digitally, keeping your deck completely clear for casting.
Conclusion & Final Safety Tips
While understanding the mechanics of a 24V series circuit is valuable knowledge for any angler, executing it safely on a small watercraft is a different story. Exposed wiring, heavy lead-acid batteries, and hull modifications are relics of the past.
Whether you choose to tackle a DIY wiring project—always remembering to double-check polarities and use marine-grade breakers—or opt for a modern solution, safety and reliability should be your top priorities.
Stop drilling holes in your expensive kayak. Upgrade to a seamless, drill-free propulsion system today.